This is the page that shows the progress on the chair.
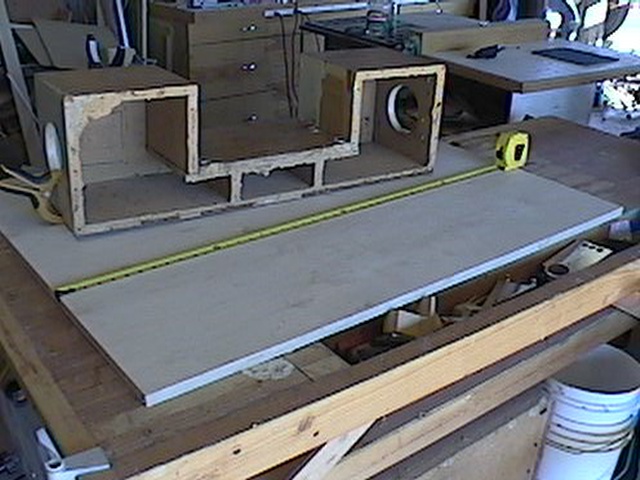 | So, we begin. The old Az box sits atop the 3/4" birch plywood to be formed into the new Az box. |
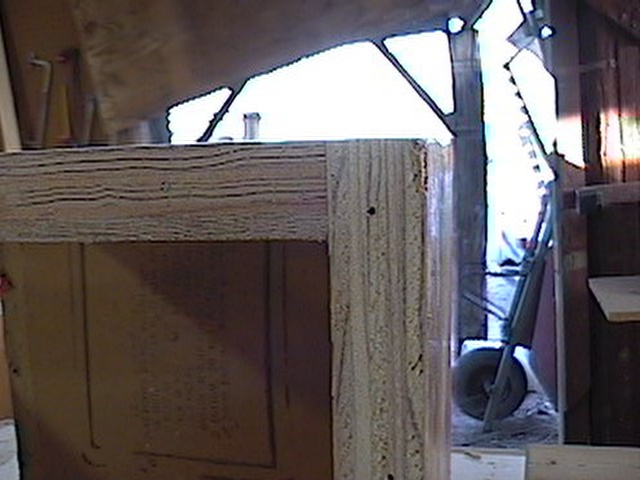 | Close-up of Pierre's old joinery. Glue and finishing nails. This view also shows the oak plywood he used. Notice it has 7 plies. |
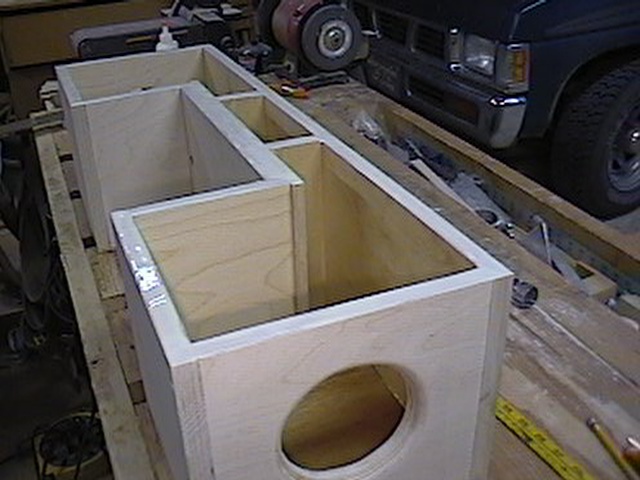
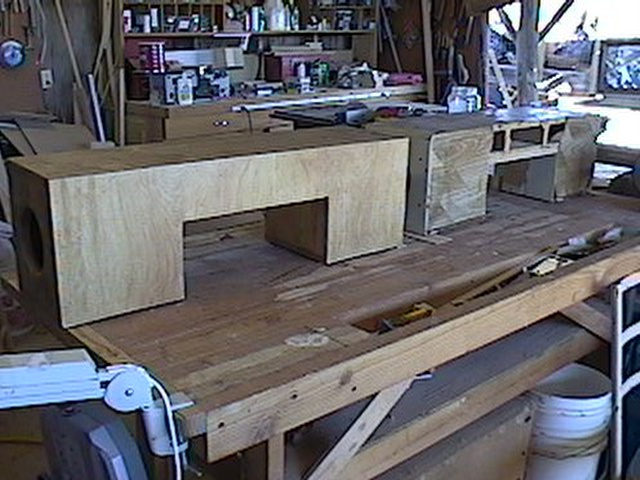
 | Here's the way I joined the sections together. It looks similar, (except turned on a different edge), and see the 15 plies the birch plywood has. This makes for a stronger, more stable material. |
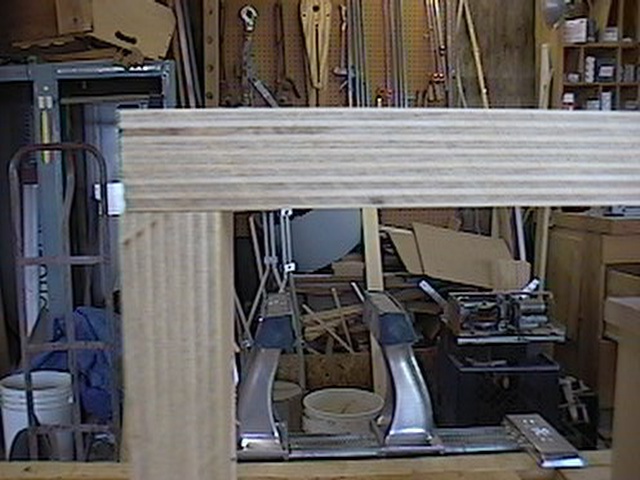
 | Here's the real secret. At each joint, I countersunk three screws with a tapered countersink drill bit on the drill press. The tapered drill allows for the variation from top to bottom of the screw, placing less strain on the plywood while at the same time maximizing the pulling together of the two pieces. This lets the glue bond evenly along the joint, increasingthe strength even more. |
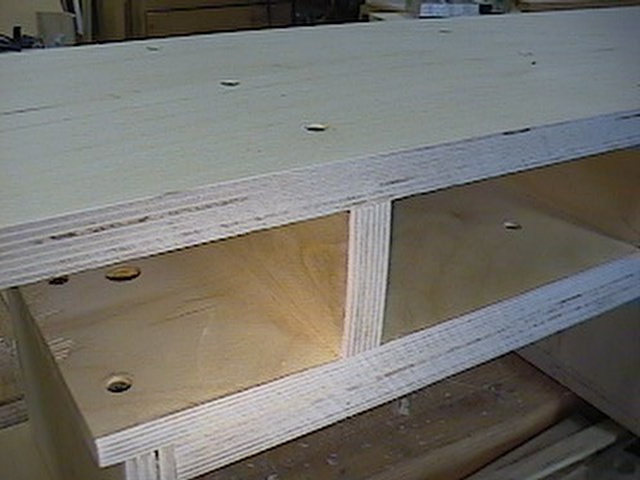 | This method is used anywhere two pieces come together, even face-to-face, as in the center section seen here. The 1/2" piece of plywood is glued and screwed in the same fasion, but from underneath. There are also screws holding the vertical pieces you see here. |
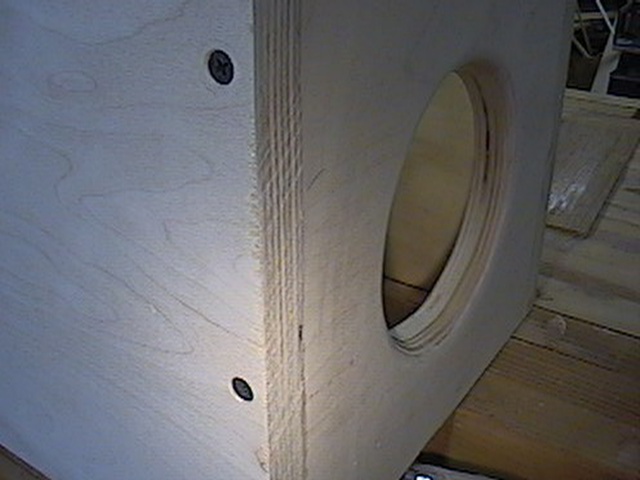
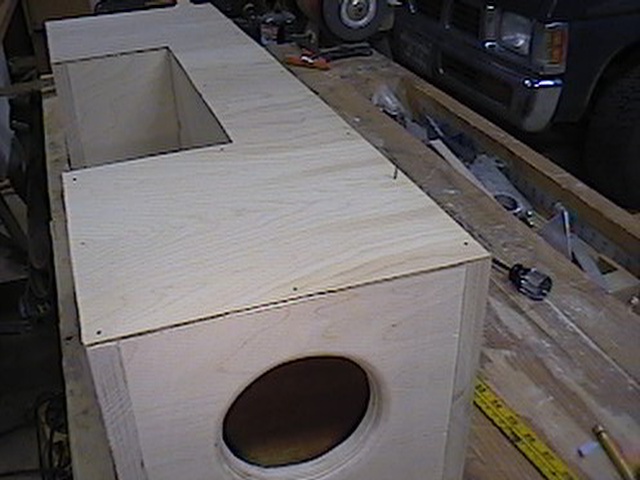
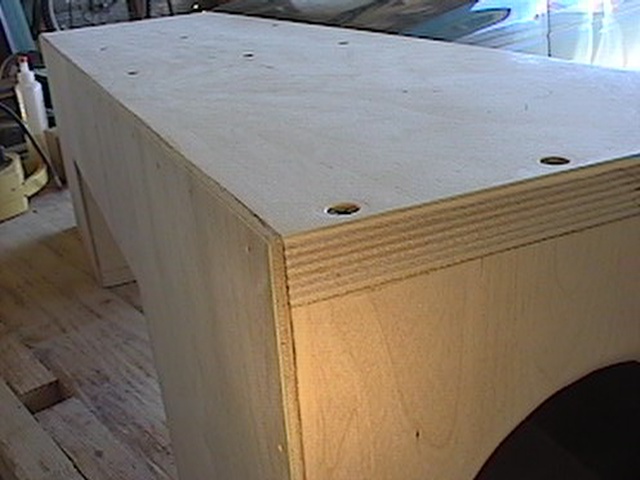
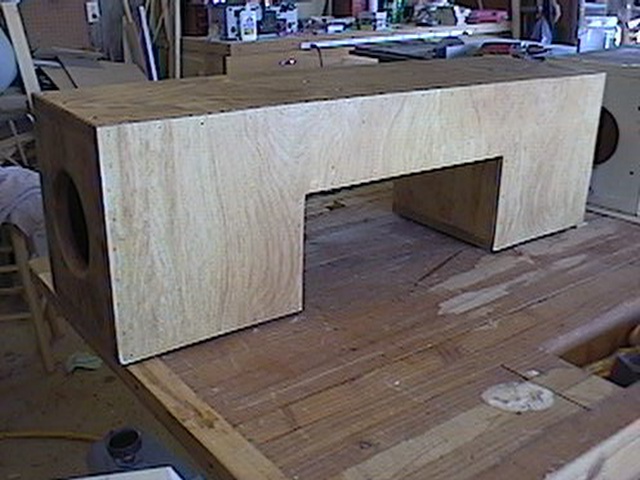
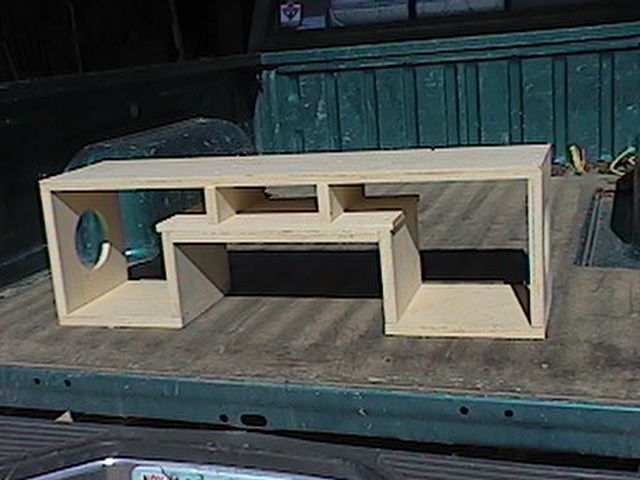 | The completed unit before sanding, waiting for the glue to dry. |
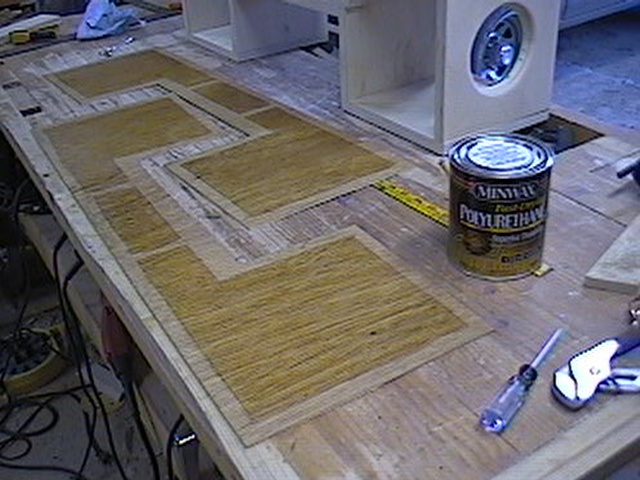 | Every piece of the box facing in was sanded to 220 grit and sealed with 2 coats of satin polyurethane. This ensures protection from dew and any other moisture. This image shows the front and back pieces of 1/8" birch plywood after sealing with polyurethane and before assembly. Notice how I left the contact points uncoated. This is to ensure a good wood to wood bonding surface with the glue. BTW, the glue used for construction is Elmer's water resistant wood glue. Yeah, the yellow stuff just works the best! |
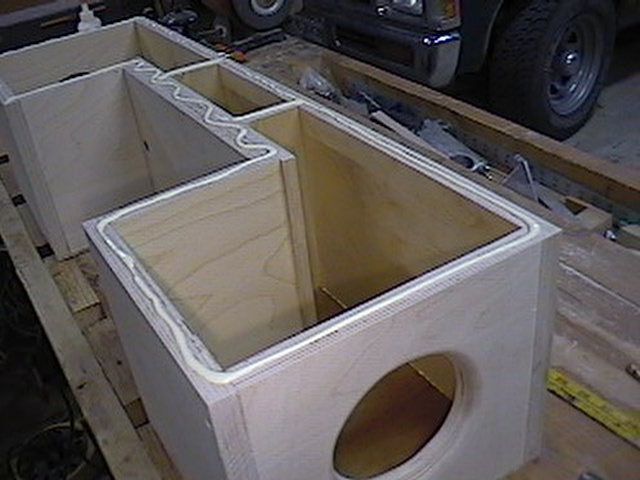 | Once the panels dried, I spread glue over the edges of the box. This is just as I squeezed it out... |
 | ...and this is after I spread it to a nice, even thickness. I know, it's hard to see, but it's there. And nice. And even. Really... |
 | Set it in place and fasten it with 1-1/2" stainless finishing nails, spaced about every 3". |
 | After drying overnight, I hand sanded a bevel along each edge. I did it by hand to prevent tearing out of the thin plywood. (It has a nasty habit of doing that after it's impossible to replace, as when the glue is dry.) |
 | After sanding all over to 220 grit, I applied a coat of Golden Oak stain to the entire box. |
 | Looks like a pretty close match to the old one, except of course, the odd/cool diagonal pattern printed onto the hardboard. All that's left is the polyurethane coats. (That's done, but I haven't taken its picture yet, and it needs to cure over night.) |